• Feed RSS
0

This is the first DIY idea that I ever pinned on Pinterest. I found this cute toddler art center on Modern Parents Messy Kids. The original link can't be found, so I'm not sure if this post was deleted, but they have lots of other great ideas, so check out their site!

 I wanted to create a space in my daughters' room where they could learn and create. When I found this idea and I saw that everything was from IKEA, I was sold! We put together this center about a year ago, so I'm not sure that you can find the exact same products and the prices have probably changed. Here is what our center looks like:


 I don't sew, but a very crafty friend made me the tablecloth for the table. I take it off when the girls are creating. This way, they can make a mess on the table an we can cover it up! The bar with the pink and white removable containers is filled with craft items that are safe for the girls. They hold things like stamps, colored pencils, and crayons. We also purchased the magazine rack, but we mounted it in their closet because we didn't have enough wall space.


The top shelf is perfect for holding all of the items I don't want the girls getting into. I purchased the two pink baskets and the pink container from the dollar store.


The magnetic board is nice for "preschool" time. My eldest daughter is working on learning sight words, so we have the words that she is working on on the board. My youngest daughter is learning letters, so she has a letter of the day on the board. I purchased clothespins from Amazon and attached adhesive magnets to the back to hold the words/letters (we use the rest of the clothespins to create some fantastic forts). We also have the day of the week on our board. The three metal containers in the bottom right corner are magnetic spice holders from IKEA. These are currently empty, but we fill them with craft items like poms or stickers.

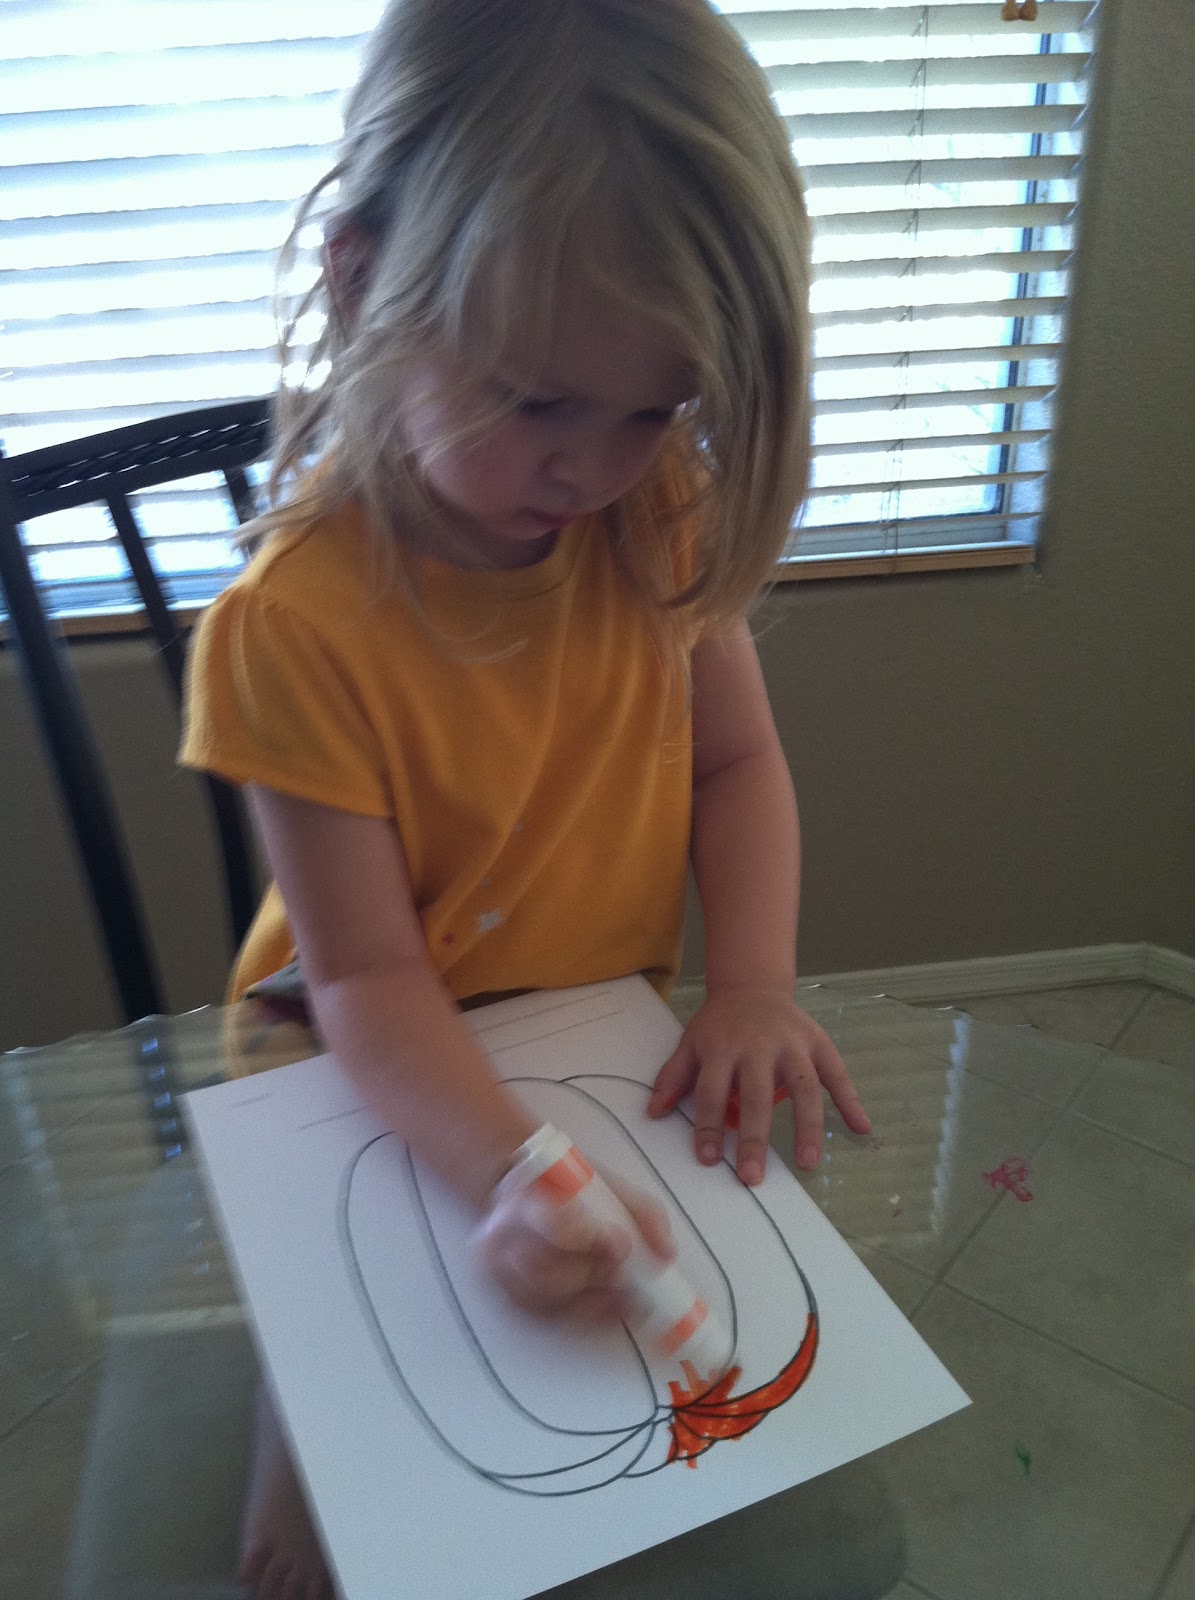
Ideas for craft/learning items:
  • Finger paint
  • Paintbrushes
  • Glue
  • Pipe Cleaners
  • Poms
  • Play-doh
  • Markers
  • Crayons
  • Colored Pencils
  • Stamps
  • Beginners' Scissors
  • Flashcards (Target usually has some in the $1 spot)
Do you have an art/learning center? I would love for you to send me your picture to share at thepinningproject(at)gmail(dot)com.

Even though it is still in the 90s here in Arizona, I know that fall will be here soon! I love fall. For our "preschool" time at home, I have been looking for some cute fall crafts. I found a template for Pumpkin Faces on MakingFriends.com.

I used the templates to create a Magnetic Pumpkin Face that can be used on a cookie sheet to make faces over and over again. This is a great busy bag type of activity for your preschooler.

Materials:
I didn't have any orange card stock, so I printed the pumpkin on white card stock and had my 3 year old color it with an orange marker.


I printed the stems template on green card stock and the face features on yellow card stock. If you only have white, you could also have your child color after you print.


While my daughter was coloring, I cut out the facial features and the stems. I then cut the magnetic squares into smaller pieces and attached to back of the facial features and stems (not pictured).


And voila! We had a Magnetic Pumpkin Face. I pulled out a cookie sheet and let my daughter stick her creations to it.


What is your favorite fall craft?
0

My three year old is learning to write her name. I don't send the girls to Preschool, but we have our own "school" time at home most days. I came across a pin on Pinterest for Hand Writing Worksheets from HandWritingWorksheets.com.

I am so impressed by this site! You follow a few simple steps:
  1. Select your hand writing style (Print Style,  D'Nealian Style or Cursive)
  2. Select your worksheet type (Name & Sentence, Single Word, Multi-word, or Paragraph)
  3. Add your content
  4. Choose a letter size
  5. Select a text color
  6. Pick page fill
  7. Finally, select a trace pattern
And voila! The site creates a hand writing page that you can print.

This is a perfect tool for my daughter to use to learn how to write her name. She loves using these sheets and has begged my everyday to print a new one. I will be using these as she learns to read to practice reading and writing site words.

Education Tool Rating (out of 5 stars): 5

Looking for more preschool ideas? Take a look at my Preschool Pinterest page.

Do you have a great site that you use for your preschooler? Please share in the comment section.

I live in the desert, so I feel like I have perpetually dry skin. I am always looking for ways to get silky soft legs, so I knew that I had to try this Shaving Scrub that I found on Pinterest from the Gluten Free Navy Wife.

Basically, you only need a few ingredients:
  • 2 1/2 Cups of Sugar
  • 1 Cup of Oil
  • 5 Tbsp of Citrus Juice
After you combine all of the ingredients, you:
  1. Get in a warm bath
  2. Soak for a few minutes
  3. Shave one leg
  4. Use about a palm full of your scrub on shaved leg
  5. Rinse
  6. Shave leg again
  7. Repeat on other leg
I decided to use coconut oil in this recipe. Coconut oil is solid in form until it is above 76 degrees, so if you use it, you will have to put your bowl in the water until it melts (this only took me a few seconds). I love the way coconut oil smells and it is great for your skin. Most specialty grocery stores carry coconut oil or it is available on Amazon. I purchased the Nature's Way Organic Extra Virgin Coconut Oil, 16 Ounce from Amazon a few months ago and I have been using it for baking and DIY beauty recipes. You can also use other oils that may be in your pantry (olive, canola, vegetable, avocado). I happened to have a lemon in my fridge, so I used it for my citrus juice.

I followed the directions and got pretty good results. My legs were definitely hair free at the end and smooth. I would have liked them to be a bit softer, but the second shave took away most of the coconut oil. Next time, I will rub a little coconut oil on after the second shave so that my skin retains the moisture.

I think it would also be great to try this with Jojoba Oil which is another good natural skin emollient.

Overall, I would give this recipe 4 out of 5 stars.

Recipe Rating (out of 5):
Availability of Ingredients: 4
Effectiveness: 3
Natural Ingredients: 5

If you are interested in more great DIY beauty ideas, check out my Beauty Pinterest board.

What is your favorite DIY beauty recipe?

On the 4th of July, my son was born. With three year old and two year old girls also at home, we have a very busy household. When 5:00 rolls around, it seems that my son is at his best...cranky and wanting to be held. After a few weeks of trying to fix dinner with my whinny and hungry girls and my ever so sweet colicky son, I decided that I needed a better dinner time game plan. That is when I stumbled upon the Crock Pot Honey Sesame Chicken Recipe from Chef in Training . Any recipe with "crock pot" in the title is exactly what I need!

I prepped this recipe in the crock pot while my girls were eating lunch and my son was napping. I already had all of the ingredients at my house, so putting it together was a snap and didn't require an extra trip to the store.

I cooked the recipe on low for 5 hours, since I started it at lunchtime, but I found that this was too long. The chicken basically shredded when I took it out to slice and was a bit more chewy that I would have liked. Next time, I will definitely stick to the 3-4 hour (on low) cook time. The flavors of the chicken were amazing! It is sweet, but not too sickeningly sweet. It went perfect with rice and broccoli. Everyone enjoyed it, including our 2 and 3 year old (which is not an easy feat these days). Overall I would rate this recipe 4 stars out of 5.

Recipe Rating (out of 5):
Ease of Preparation: 4
Taste: 4
Kid Friendly: 4

If you are looking for more crock pot meals, Chef in Training has a list of 50 Slow Cooker Recipes that you should checkout.

If you would like more chicken recipe ideas, feel free to check out my Chicken Pinterest board.

What is your favorite go to Crock Pot meal?

0
Welcome to The Pinning Project! My name is Pam and I am a stay-at-home mom of three beautiful and energetic children. I am a HUGE fan of Pinterest. Some might say that I am addicted to pinning. There are so many great ideas on Pinterest, but I find myself pinning and never creating. So, I started this site as a means to encourage myself and others to attempt, cook and create. I will doing all three of these things and then blogging about my efforts and the end results. I would love to hear your experiences and hope to post guest Pinterest re-creates on a regular basis. If you have any re-creates you would like to share, please email me at thepinningproject(at)gmail(dot)com.

I will warn you ahead of time that I do not consider myself a crafty person, nor am I a gourmet chef. I am just the average mom trying to provide my family with a loving and fun home!